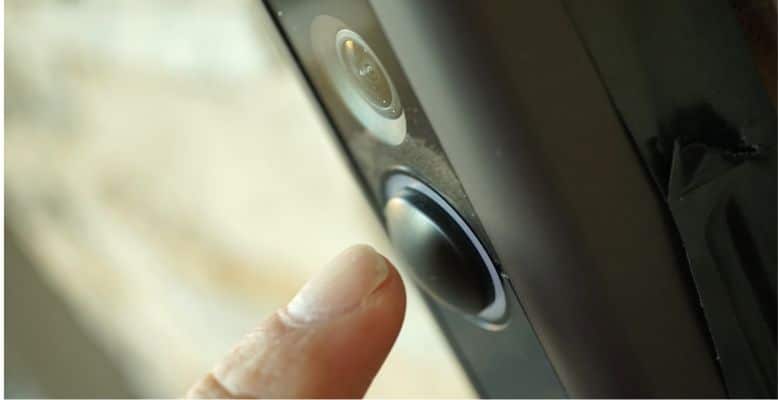
Do you know what’s super cool? Installing a Blink doorbell camera! Not only does it keep your pad secure, but it’s also super easy to set up. Imagine never having to wonder who’s at the door again, even when you’re out living your best life!
Now, you might think, “Uh, I don’t know how to install a camera.” But no worries, I got your back! All you need is a few tools and supplies. Trust me, it’s a piece of cake!
Here's what we cover:
- How To Install A Blink Doorbell Camera
- How To Setup A Blink Doorbell Camera For Installation
- When you are setting up your Blink doorbell camera, the first thing that you need to do is set up the Sync Module.
- Open the Blink app.
- Tap the “+” in the top right corner of the screen and select the Blink Video Doorbell.
- Scan the doorbell’s QR code on the back of the doorbell.
- Under “Add to an existing system,” choose the system you previously set up with your Sync Module.
- Follow the instructions on your phone’s screen to install the batteries.
- The red light on the doorbell will start blinking. Tap continue and wait for the app to add the doorbell to your app.
- Once the doorbell is added to your app, you are shown a screen asking if you are ready to mount the doorbell to your doorframe. Tap “Mount Blink Video Doorbell.”
- At this point, you can go through the settings in the app and set it up to your preferences.
- In the doorbell settings section in the app, you will see two options for either “mount without wiring” or “mount without wiring.”
- Follow the mounting instructions on the phone’s screen.
- Select the area on your doorframe or beside your door to install the doorbell.
- At this point, you can either mount the doorbell flat to the wall or use the mounting wedge.
- Install the base plate with the screws that were included with your doorbell.
- Attach the doorbell to the baseplate. It just slides into place, you push down, and it should click in place.
- Wired Or Wireless
- Mounting Option For Your Blink Video Doorbell
- How To Remove A Blink Doorbell From The Mount
- Troubleshooting
- Conclusion
How To Install A Blink Doorbell Camera
Installing a Blink video doorbell installation, either wired or wireless, can be done by anyone with a few tools, and it doesn’t take too long.
What You Need
- The Blink video doorbell unit with all the mounting hardware is included in the package.
- Blink Sync Module 2 – If you already have Blink cameras installed around your home, chances are you already own a Sync Module. If not, you need to either purchase a Blink video doorbell kit with the Sync Module included or purchase the doorbell and Sync Module separately.
- The Blink app can be downloaded on your smartphone for free by going to the app store for your phone, searching for the Blink app, and installing it.
- Drill
- Tape
How To Setup A Blink Doorbell Camera For Installation
Setting up a Blink video doorbell is quite simple and only takes a couple minutes:
When you are setting up your Blink doorbell camera, the first thing that you need to do is set up the Sync Module.
You can ignore this step if you already have this set up because you have other Blink cameras. Click here for a detailed article on setting up the Sync Module.
Open the Blink app.
Tap the “+” in the top right corner of the screen and select the Blink Video Doorbell.
Scan the doorbell’s QR code on the back of the doorbell.
Under “Add to an existing system,” choose the system you previously set up with your Sync Module.
Follow the instructions on your phone’s screen to install the batteries.
The red light on the doorbell will start blinking. Tap continue and wait for the app to add the doorbell to your app.
It may also update the firmware simultaneously if it finds updates.
Once the doorbell is added to your app, you are shown a screen asking if you are ready to mount the doorbell to your doorframe. Tap “Mount Blink Video Doorbell.”
At this point, you can go through the settings in the app and set it up to your preferences.
We won’t go into any specific detail here because that is a whole other thing, but we have another article on Blink camera settings that should also apply to the doorbell.
In the doorbell settings section in the app, you will see two options for either “mount without wiring” or “mount without wiring.”
When you are ready to go outside, tap the mounting option you plan to use. If you are unsure which to choose, jump to the next section on “wired or wireless” of this article, which explains each of these and when you should use one over the other. For wireless, you need to install the doorbell to the wall, and for wired, you have two wires to attach to the base plate before installing the doorbell.
Follow the mounting instructions on the phone’s screen.
Select the area on your doorframe or beside your door to install the doorbell.
At this point, you can either mount the doorbell flat to the wall or use the mounting wedge.
Both options are the same, except with the wedge, you install the wedge first and then add the doorbell.
Install the base plate with the screws that were included with your doorbell.
Attach the doorbell to the baseplate. It just slides into place, you push down, and it should click in place.
Wired Or Wireless
It is simple to decide if you are unsure whether you need a hardwired or wireless installation.
- Hardwired installation – If you already have an existing doorbell, the wires are installed in your home. Remove the old doorbell, and you will have the exposed wires ready to use. Just attach the wires to the two leads on the back of the base plate. There are also steps in the app that you will see that will allow you to configure it with your chime (mechanical or digital).
- Wireless installation – Use the same set of steps as above. The batteries will power the doorbell, and you will be wireless.
Mounting Option For Your Blink Video Doorbell
Depending on your needs, there are several different mounting options that you can use for your Blink video doorbell instead of the basic one that comes with the kit:
Apartment Mount without Screws Or Drilling
In cases where you may not be allowed to drill holes into walls, you can use a mounting kit without screws that attach the door with a mounting bracket. There are many different options available here. Most clip to your door with an adjustable clamp.
Mounting On Brick
For mounting on brick, you can use masonry screws, but if that option isn’t something you want to deal with, you can consider no-drill adhesive mounts like these here.
Mounting On Vinyl
For mounting on vinyl, you can use an adhesive mount. However, unique vinyl siding mounts are also explicitly made for Blink doorbells.
Wedge Mount
A wedge mount is a good option when installing the doorbell directly on the door frame. Sometimes, the doorframe needs to be more comprehensive, so the wedge mount helps resolve this issue.
Corner Mount
If your door is close to a corner, it may make sense to use a corner mount. This option is perfect for the job.
How To Remove A Blink Doorbell From The Mount
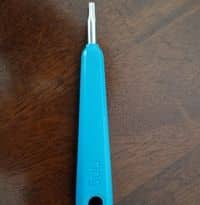
Removing the doorbell from the mount is also very easy. Use the included screwdriver tool to pry the doorbell away from the baseplate and slide it up simultaneously. It should come right off.
Ring Doorbell 2 Screwdriver Size

The included screwdriver that comes in the box is basically just a Torx 15 screwdriver. So, if you lose yours, you can always get a replacement with a Torx 15.
Troubleshooting
Blink Doorbell Won’t Snap Into Mount
If the doorbell does not snap into the mount, you may need to clean or lubricate it to ensure it works correctly. Sometimes, the doorbell needs a little nudge to snap into place. If that doesn’t work, consider using a cleaner and cleaning the doorbell or lubricating it.
Conclusion
Installing a Blink video doorbell is very quick and easy to do. You have to follow the instructions your phone gives you on the screen, and in about 20 minutes, you will have it up and running.
The Blink video doorbell is the perfect addition to your home security arsenal. It allows you to see who is at your door, talk to them and find out if everything is alright. At the same time, you can capture it on video if you choose and store footage locally inside the app on your phone.
